Photo Paper Direct transfer paper allows you to print a custom design on your inkjet printer and our special transfer paper, then use heat to fuse the printed design to a T-shirt using an iron-on or a heatpress. This blog will explore the two types of transfer paper to help you decide which product is best for you, then provide a few tips you can use when applying your designs to fabric.
Are there different types of heat transfer paper?
Yes, heat transfer paper comes in two types:
- Clear Heat Transfer Paper (for white or light fabrics) – a transparent film which allows the fabric underneath to show through the design.
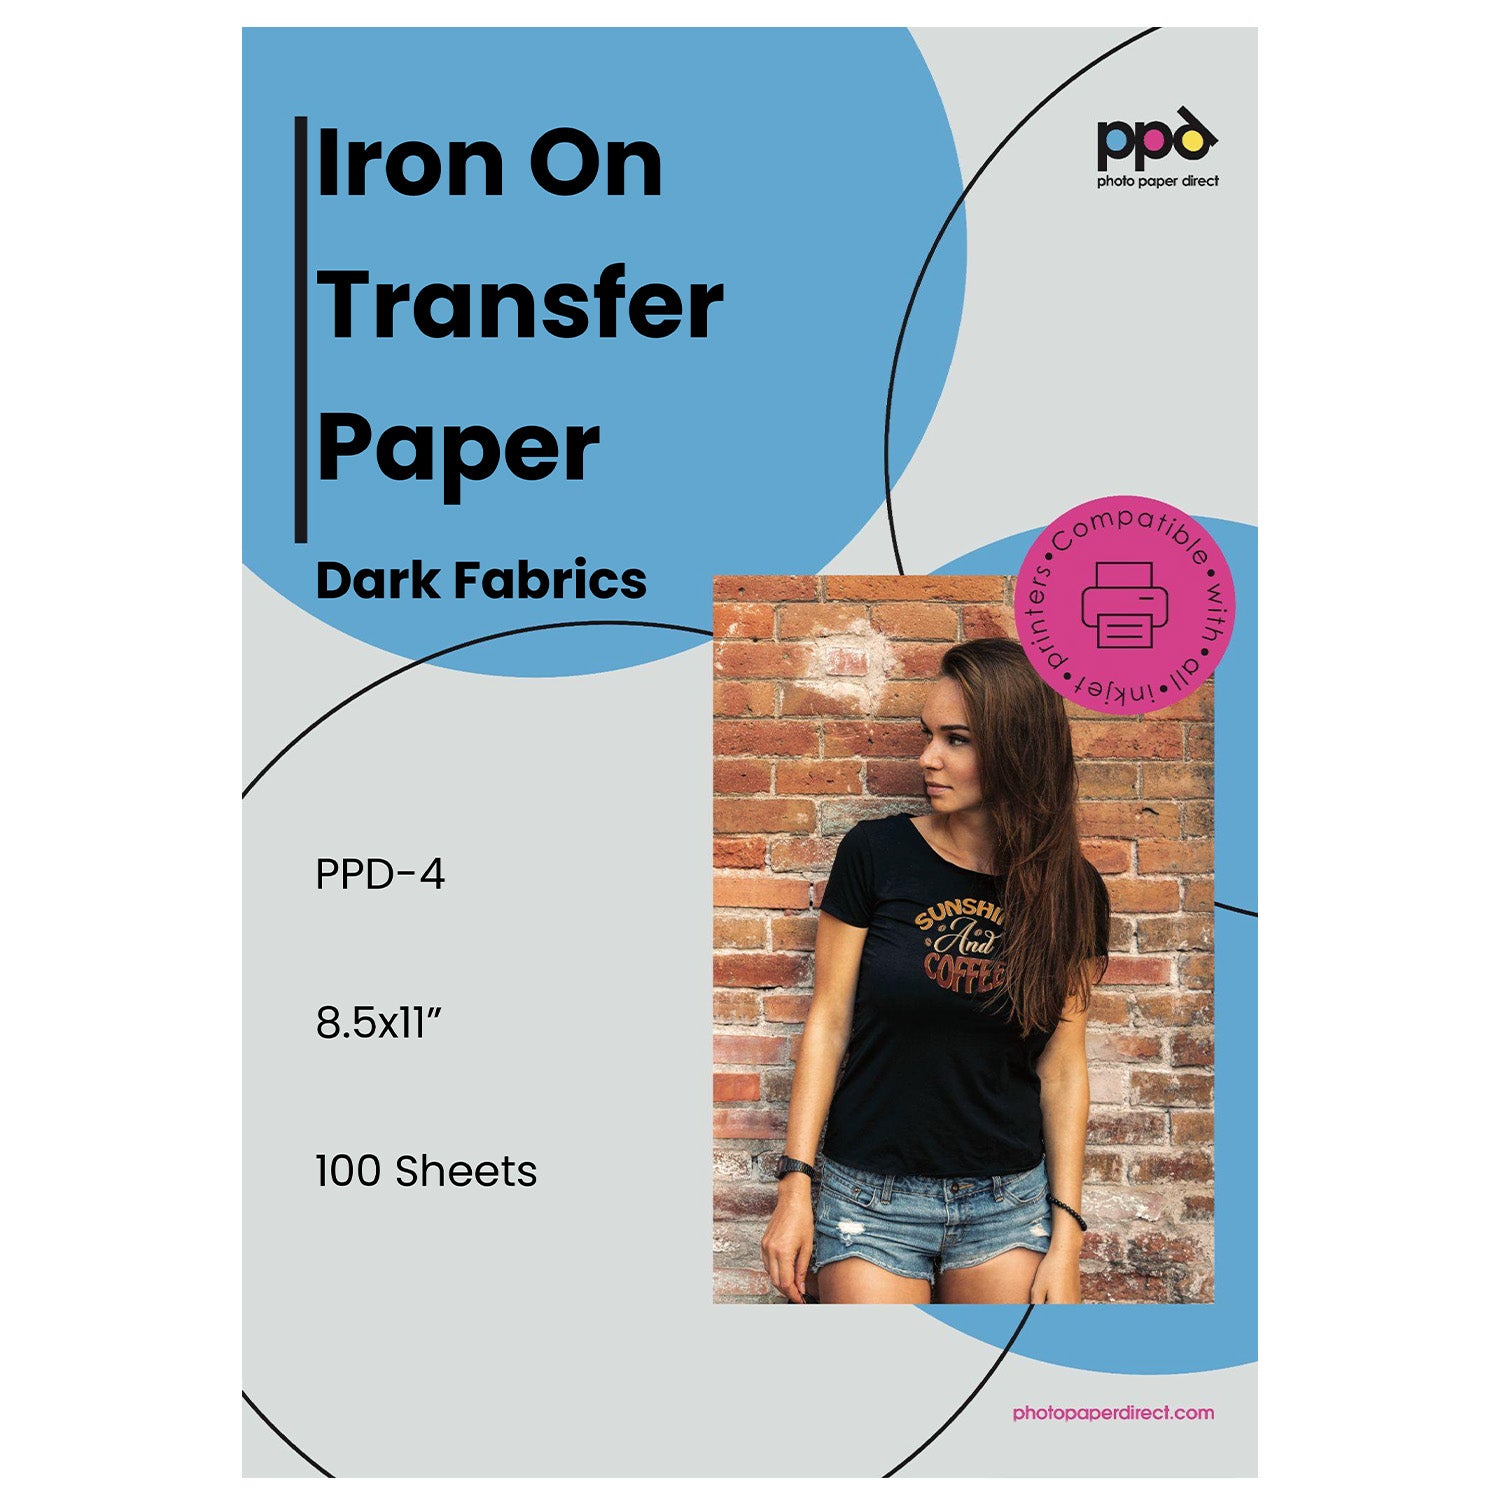
- White Heat Transfer Paper (for black or dark fabrics) – an opaque white layer is added to the transfer film. With this type, printed colors will appear exactly as you printed them. Be sure to crop the image close when you cut it, otherwise you’ll have a white border around your design.
The mixed packet from Photo Paper Direct contains transfer sheets of each type. You can tell them apart by looking at the backing. A red pattern on the back is for white/light textiles and a blue pattern is for black/dark textiles.
Do you apply clear heat transfer film and white heat transfer paper in different ways?
Yes, the transfer paper for light fabrics (clear heat) and dark fabrics (white heat) is applied slightly differently to fabric. Key differences include whether you mirror the image or not, cutting it to eliminate a border or not, timing for removing the backing, facing the image up or face down, and when to use the silicon sheet.
This chart walks you through the process for each type.
Transfer Paper for Light Fabrics
(red printed backing)
- Print image (mirror the image)
- Cut out image
- Iron the T-shirt to remove creases
- Place the image face down on the fabric Iron the image with pressure for the set timeframe
- Cool 5 minutes, then peel off transfer paper backing
- Add the silicon sheet on the image, completely covering it.
- Iron the image about 30 seconds.
- Peel off silicon sheet while hot
Transfer Paper for Dark Fabrics
(blue printed backing)
- Print image (do not mirror)
- Cut out image
Be sure to crop to the image, unless you want a white border - Iron the T-shirt to remove creases
- Peel off transfer paper backing (blue print side)
- Place image face up on the fabric. It is repositionable at this point.
- Add the silicon sheet on the image, completely covering it. Iron the image with pressure for the set timeframe.
- Peel off silicon sheet while hot
Want to learn more about what would happen if you used the clear film for light fabrics on a dark shirt? Our video on Choosing Transfer Paper Types will provide a quick overview of the ironing process, then reveal what it looks like when you use light transfer paper on a dark shirt.
Heat Transfer Paper Tips
Once you understand the differences between the two types of heat transfer paper, you only need a few extra pointers to create beautiful custom T-shirts with your artwork or photos and PPD Iron-On Transfer Paper.
More of a visual learner? There are more links to videos to help you.
Apply Your Design to a T-Shirt
Centering your design on a T-shirt can be problematic sometimes. Thankfully, each packet of PPD Transfer Paper (whether for light or dark fabrics) contains a Shirt Alignment Tool to help you. The template acts like a pattern you place on the shirt. Size the template to the required shirt size to align your printed design properly. There are instructions on how to use the tool on the back.
![]()
Watch us use the shirt alignment tool in this YouTube video.
TIPS:
- Take a snapshot or photocopy the instructions on the rear of the template tool before you cut the template.
- Cut each copy to fit the different sizes you require. You can size it for infants, toddlers, youth or adults.
- Tuck the template back in your packet for next time.
Fabric Types
PPD transfer paper is designed to work with cotton, linen, silk, and other natural fabrics that can withstand high heat with an iron or a heatpress. It won’t work on rough surfaces like burlap or canvas. Stretchy fabrics made of polyester or other synthetic fabrics do not work well with a heat transfer. We recommend applying to cotton T-shirts and other cotton fabric instead.
If you’re still wondering about white/light or black/dark fabric, watch the Choosing Transfer Paper Types video.
TIPS:
- Apply to cotton or other natural fabrics that withstand high heat
- Avoid using stretch, synthetic fabrics
- Choose a smooth weave for a smooth decal application
Ironing Tips
We do not recommend using a smart iron when adhering PPD Iron-On Transfer Paper. Smart irons can automatically fluctuate the heat. You want to iron the transfer paper with a dry iron on the highest temperature setting (at least 1500W) for a successful transfer. Also, do not use steam.
We do not recommend using an ironing board or other surface with a lot of give. Use a hard surface that is heat-resistant instead.
TIPS:
- Use a heat-resistant surface and not an ironing board
- Avoid a smart iron since they fluctuate heat
- Use a dry iron, no steam
- Set at the highest temperature setting (at least 1500W)
Maintaining the Printed Design on Fabric
The first step to maintaining a printed design comes before you apply the transfer. Simply pre-wash your 100% cotton T-shirt. This can help prevent fabric shrinkage after the design is applied. The next is to follow our washing instructions.
Get a quick washing overview in this video to help maintain your printed design.
TIPS:
- Pre-wash the fabric.
- Iron the shirt before applying the transfer paper to remove any creases or wrinkles.
- Turn the shirt inside out to wash it once the design is applied.
- Never wash on a delicate setting; you want the regular cycle.
- Tumble dry it instead of hanging it to dry
- Reuse the included silicon sheet periodically to brighten the design. It’s easy! (1) Place the T-shirt on a hard, heat-resistant surface. (2) Lay the silicon sheet on top of your design. (3) Iron on top of the silicon sheet.
We want to see your designs! Share your finished projects on social and tag #PhotoPaperDirect to interact with other creatives like you.